How to install LAMP and PhpMyadmin on LinuxMint
 LAMP (Linux, Apache, MySQL and PHP) is an open source Web development platform that uses Linux as operating system, Apache as the Web server, MySQL as the relational database management system and PHP as the object-oriented scripting language.
In this Simple tutorial we will explain you how to install LAMP server on your LinuxMint7 Gloria
The installation will be done in 3 steps:
Apache, PHP and MySQL, after that we will install phpmyadmin the administration software tool for MySql.
1- Apache2 installation
sudo apt-get install apache2
to check that Apache has been installed without problems, go to your browser and type
http://localhost
if everything is correct you will see the message :
It works
Now we will go and try to install PHP5
2- PHP5 and dependencies installation:
sudo apt-get install php5 libapache2-mod-php5
A restart of apache2 is needed to make this one see PHP5, to restart apache2 use the command:
sudo /etc/init.d/apache2 restart
3- MySql Installation :
To install MySql type the command
sudo apt-get install mysql-server
During the installation you will got this screen (package configuration) to set root password for MySql, enter your password and retype it
if you diden`t got the screen to setup root password for mysql then you have to do it manually, to setup root password for mysql :
mysql -u root
mysql> SET PASSWORD FOR 'root'@'localhost' = PASSWORD('YOURPASSWORD');
Don`t forget to change YOURPASSWORD with the password you want to use The basic installation of LAMP is ready. Now we will install phpmyadmin,
phpMyAdmin is a free graphical software tool to handle the administration of MySQL, this will make it easy for you to create, import/export and delete
databases. Install phpmyadmin using the command:
sudo apt-get install phpmyadmin
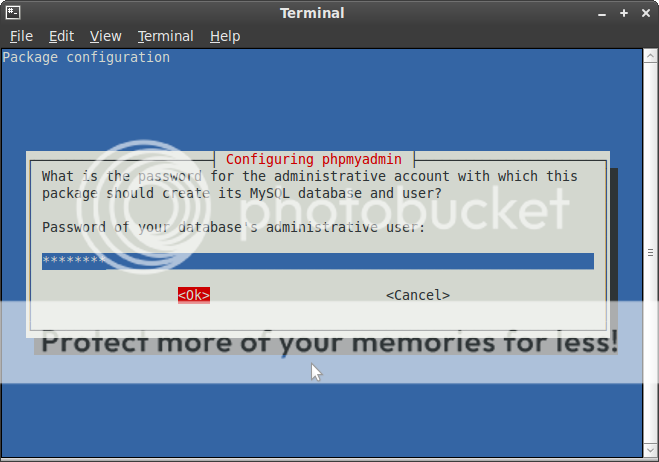
During the installation a blue screen will appear asking you which server you want to use apache, apache2 …. choose then apache2 and click ok
Then you will be asked to set a password for your phpmyadmin
Type the password and retype it
Now is done, Point your browser to: http://domain/phpmyadmin you will got this screen
if you diden`t receive any screen of psckage configuration during the installation of phpmyadmin then you will have
To set up phpmyadmin under Apache manually, all you need to do is include the following line in /etc/apache2/apache2.conf, first type the following command to open up this file:
sudo gedit /etc/apache2/apache2.conf
Add the following line of code inside apache2.conf:
Include /etc/phpmyadmin/apache.conf
Now restart Apache:
sudo /etc/init.d/apache2 restart
and is done, now Point your browser to: http://domain/phpmyadmin (see pic above)
If you have any problem please report it .Thanks


